How to Easily install Google Fonts on the Blogger site
There is nothing new about what Google fonts are. Everyone who does a little bit of web design is aware of this. There is no substitute for Google fonts in using all types of fonts that are stylish and normal on web pages. Using Google Phone we can use any font on the website for free without uploading any phone file anywhere. Install The Google font choice the Blogger site
There are many advantages to using Google fonts, one of which is that no fonts need to be uploaded separately and the fonts load faster on the website due to Google’s high-speed server. We can easily install Google fonts by linking Google font CDN to any normal web page but the Blogger site is an exception.
Blogger templates are not saved when linking to Google fonts because there is a semicolon (;) in the CDN link of Google fonts. As a result, we are hesitant and the question arises in our minds, is it really possible to install Google fonts on the Blogger site?
The answer to this question is yes, of course, it is possible to install Google fonts on the Blogger site. However, in the case of the Google font installer on the blog site, you have to install it with some exceptions from the normal webpage.
In order to install Google fonts on the Blogger site, we need to import the font-family CSS of the font family into the CSS of the Blogger site. More or less everyone who has a general idea about CSS is aware of how to import CSS. Since I have not come up with a CSS tutorial here, I will not say more about how to import CSS. So let’s not exaggerate, let’s see how to install fonts from Google fonts on Blogger.
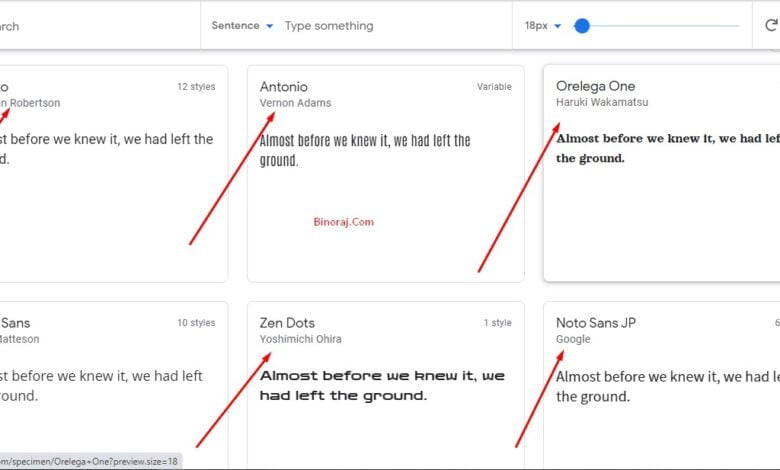
To show you how to install Google Fonts, I will show you how to install Hind Siliguri Bangla Fonts.
To install the font, first, search Google and find your desired font family in Google Fonts by entering the website directly. After finding out, select the style according to your need and look at the right sidebar. There are some codes given in two places (in the case of mobile, you have to open the code menu by clicking on the four grid icon). To install the above Kodatuku font family and to apply the Kodatuku font site below.
By default, the code above means the code for installing the font, there is a code to link the font, since we will import the font without linking, so clicking on the radio button next to the import option will show the code needed to import the font. Now copy the codes without the <style> tag from the codes you have to import the font. After copying the code,
go to the edit mode of your Blogger template and paste it over all the CSS in the <b: skin> tag of the copied code template.
To install the font, you just have to paste and save the code. Now it’s time to use the font site.
(The first of the following codes is the original code that was on the Google font site, and the second code that I copied)
<style>
mpimport url (‘https://fonts.googleapis.com/css2?family=Hind+Siliguri:wght@300;400;500;600;700&display=swap’);
</style>
mpimport url (‘https://fonts.googleapis.com/css2?family=Hind+Siliguri:wght@300;400;500;600;700&display=swap’);
Now to apply the font family on the site, copy the CSS code that was under the sitebar and paste it under all the CSS codes of your Blogger site template and save the template. Then the font will be fully installed on the site.
Install the Google font choice easily on the Blogger site
So, friends, this was today’s post, I hope it will come in handy someday.
If you like the post, please let us know in the comments section. And visit this site regularly to get posts related to tips and tricks.


